If you are looking for how to start a travel blog, you are in the right place!
Now you’ve got your domain name registered, but what do you do with it? With this post we’ll get the back-end of your blog set up so you’ll be ready to hit the ground running!
Did you missed Step 1 of this Start a Blog series where we covered Choosing a Name? If so, I encourage you to go back and visit that post before continuing with the steps below.
Let’s get started!
Step 3: Host Your Domain
Yes, we are getting technical already, but it doesn’t have to be scary! Now that you’ve got your domain name you need to build on your piece of Internet real estate with a place to store all your data, files, and photos. This is essentially what hosting does for you.
Just like with domain name registration, hosting doesn’t need to be a big expense. You’ll also run into most of the same players (BlueHost, GoDaddy, HostGator, etc.). They all offer good quality for a low price and decent customer service. It’s important to note that you can, but don’t have to use the same domain registrar and host company. Using different companies simply requires an extra step of mapping your domain name servers (DNS) from your registrar to your host. It’s much easier than it sounds.
The host is also important as they will provide you with the email address(es) you need to run your blog. Check the plan details to make sure you pick the offer that best suits your needs. You don’t want to find out later that you’re exceeding your limits on the number of email accounts or size of storage.
Step 3a: Brilliant Done-For-You PRO Blog Option
Wouldn’t it be great if you could know your hosting was in the best hands possible?
How much better would you sleep at night knowing that you had air-tight, bulletproof security included?
What if there was an option that required 1 small settings change and 3 clicks to have your blog setup?
How would you feel knowing that you could follow simple step-by-step instructional videos to launch your perfect blog FAST?
You’re in luck! I’m NOW able to offer you exactly what I’ve outlined here, and so much more!
Click the button below to find out the details, then skip the rest of this post and head on over to Step 3: Design!
Step 4: Install WordPress
You definitely want to use WordPress for your new travel blog; not Blogspot, Blogger, or anything else. WordPress is the platform the professionals use, and installing it with your hosting account is super easy.
To start a blog you’ll want a self-hosted WordPress account rather than a free account; here’s why:
- Your website is “MyTravelBlog.com” rather than “MyTravelBlog.WordPress.com”
- You own your data and have full control
- You can sell advertising on your site
- You can install plugins & custom themes
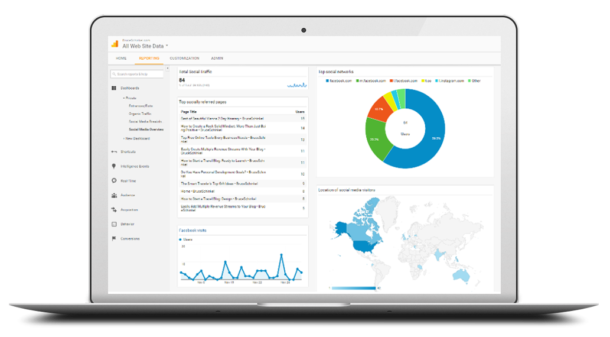
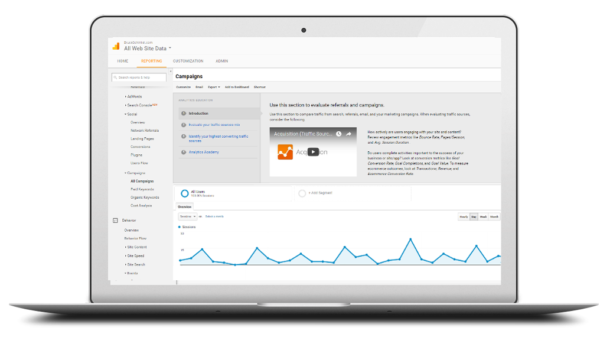
- You can use Google Analytics tracking
Login to your hosting account and select the Install WordPress button under “Website” (for this example I’ll be using BlueHost).
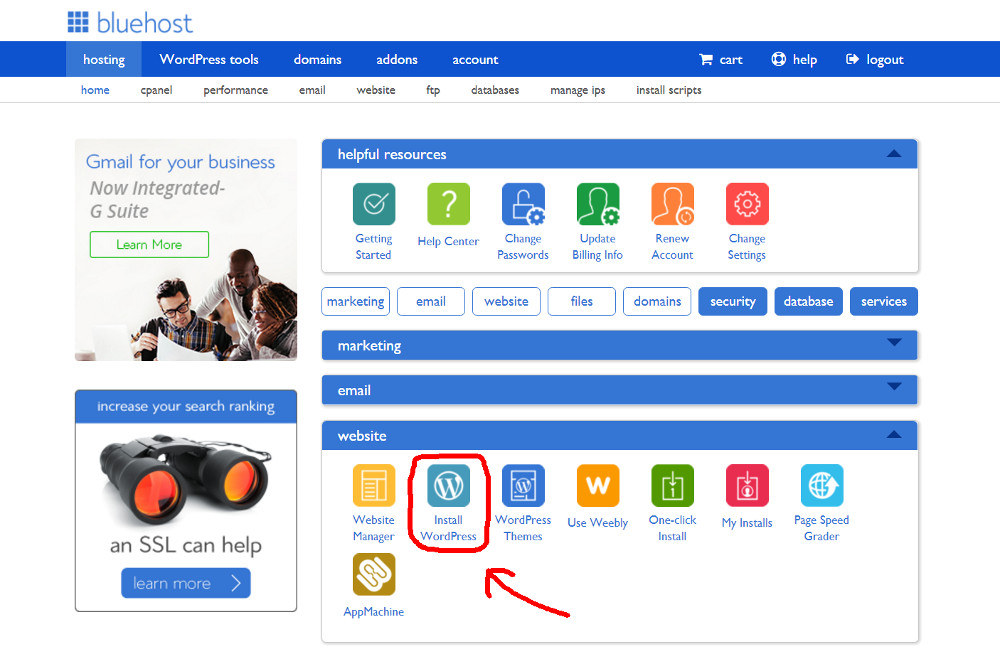
Follow the simple installation process. When asked where you’d like to install WordPress, choose your new domain (e.g. http://MyBlogName.com). Make special note of the administration information provided to you after the install is complete. You’ll need it to login to your blog afterward!
You now have the foundation of a blog!
The username and password provided to you will log you into the WordPress dashboard and you’re ready to start customizing. Access your dashboard at http://myblogname.com/wp-admin (replacing myblogname with your blog domain name).
Congratulations, your blog is now online!!
But how do we make it look great??
Check out Step 3 of my How to Start a Blog series where we’ll look at selecting the right themes and plugins to get your new blog looking and functioning like the pros.
Ready to skip ahead and get all the steps together in one document? Awesome! Click here are I’ll send you my FREE Blogging JumpStart Guide.
Was this helpful for you? If so, please share it with a friend who you think would get value!
Be sure to comment below and let me know how you’ve dealt with hosting for your blog!
P.S. If you’d LOVE to start Your Own Blog with “Just 3 Clicks”, check THIS out!
Was this valuable for you? If so I’d really appreciate your comments below and shares on social media.
Resources
Here is a list of the resources mentioned in this post:
MyLeadSystemPro (MLSP) Sites – Have your professional blog online in under 24 hours!
BlueHost.com – Domain registration and hosting company used in the step-by-step example
Blogging JumpStart Guide – Download my FREE guide outlining how to successfully start your own blog




Excellent tips on getting a blog up and running. So many options you laid it out perfect to get one going without the headaches! Great share!
Thanks so much Zach, removing those headaches is one of the keys to getting started!
L:oving your step by step instructions when starting a blog.
Wish I had this when I first got started in 2010 🙂
Dr. Lisa
Glad you’re seeing value here Dr. Lisa! Hoping to help those who are just starting out to avoid some of the mistakes we made 🙂
Awesome step by step set up to start a blog! Great post!
Thanks Rhonda! So glad you stopped by 🙂
These are great step by step instructions for setting up a blog. Awesome post Bruce!
Happy you enjoyed Demetri!
Nice blog post for newbie bloggers. Highly recommend this article to a friend.
Thanks so much! So glad you received value here 🙂